First of all, if you do not want to move the main sheet boom attachment point, you need a 5 foot long model. I ordered it from Overton's, that was the only retailer I found that carried the 5-foot long ones. The second consideration is the width. The distance between attachment points (between port and starboard) in my case is 69 inches, so I ordered the model covering the 67-72" range. The height has to be as low as possible in order to clear the boom. The one I got had a height of 32 inches which can be lowered to 30 inches. Finally, I picked the Sunbrella fabric option. In my last issue ('99 #3) of Overton's catalog this is item #29810 on page 100. List price $249.99.
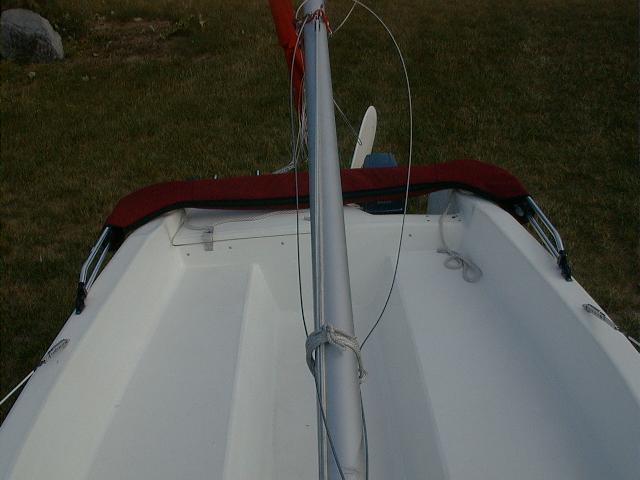
The way this top is installed on my boat, it clears both main sheet and back stay with no mainsheet modifications. When the boom is suspended on the topping lift, which is spliced to the backstay, the backstay was touching the rear edge of the top, so now I am using a shock cord between backstay and mast crutch when the topping lift is in use to avoid chafing. It works fine. When I was taking measurements, I did not think of this interference. If I had to do the installation again, I would move the attachment points closer forward by an inch. Anyway, I attached the bimini fittings to the coamings 8.5 inches after lifelines eyes (distance between the centers). I do not advise of installing the top on an unrigged boat without making sure it clears backstay just using my numbers, you may not like the results. Measure twice.
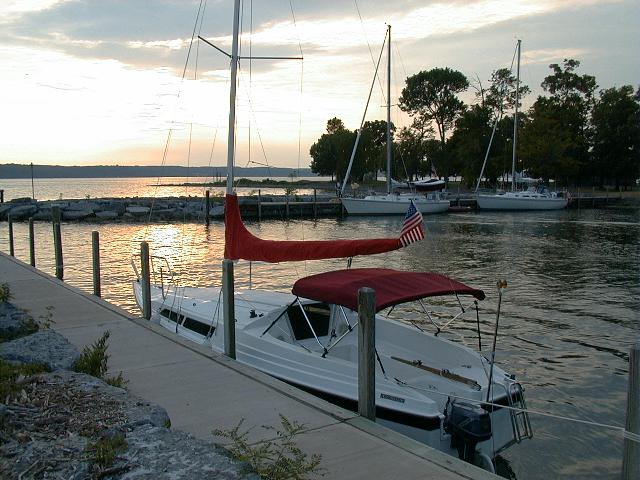
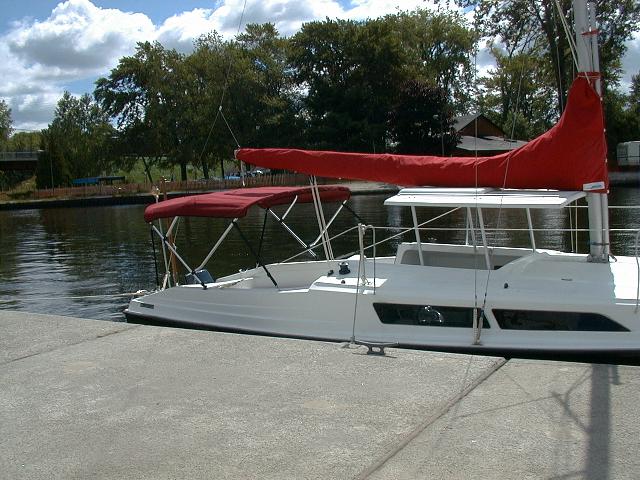
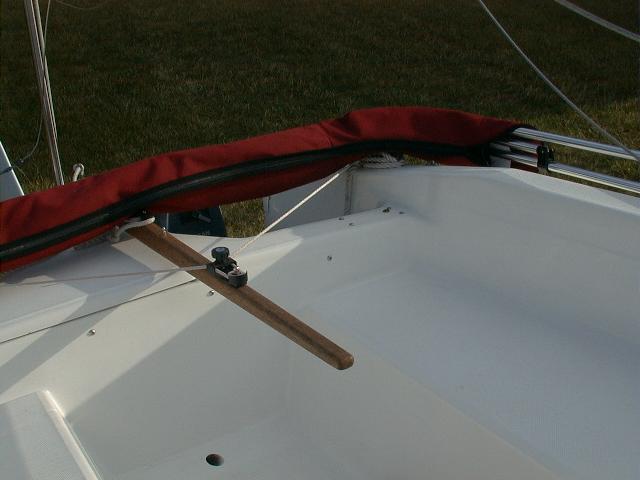
The boom clearance was an issue, when the main is sheeted in boom touches the top, so I had to shorten the arms. Vendor supplies extra rivets, which hold the arms' fittings. The rivets on those fittings have to be drilled off, arms are cut (with a hacksaw) so the end fittings are moved to the joint between front and rear bows. The new holes for the rivets are drilled and the rivet gun is used to attach fittings to the arms. It lowers the top by 2 inches. In most sailing conditions it is enough to clear the boom. On pictures 1 and 2 the top is in its original condition, on 3 and 4 - after the surgery.
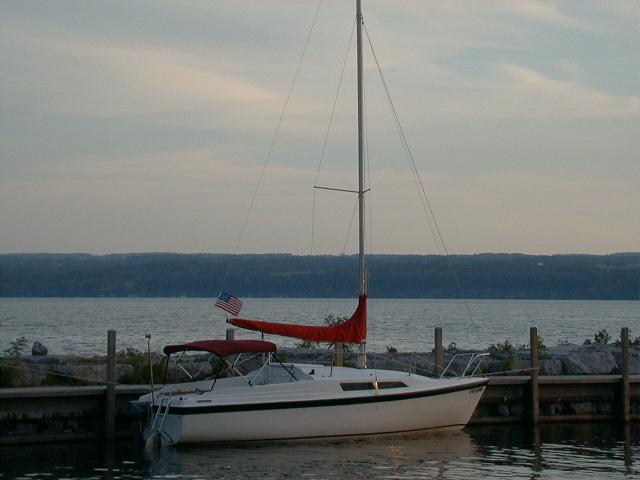
The quality of the top is very good, but the deck eyes, supplied with it were made from a low grade stainless steel which turned grayish after a winter. By the way, the location of these strap eyes is not very important, just make sure straps can reach them.
The top is very easy to raise and lower. It comes with a boot, which is very convenient, especially when towing the boat. For the winter I removed it (by unscrewing 2 screws) and stored on the aft berth below.
That is all. Good luck,
Alexey Titov
titov@a-znet.com